Showing posts with label Plants. Show all posts

Monday, May 7, 2012

Get the most out of your produce...Tips to make them last longer!!!

If you are anything like me you stock up weekly on your produce! I get the majority of my produce from Tampa Bay Organics ( www.tampabayorganics.com ) Its a fantastic home delivery service in the Pinellas, Pasco and Hillsborough counties (Florida) Every Friday I receive an email with what to expect in my box on Tuesday of the following week ( We receive the large box, seeing how I am borderline vegetarian). I can then log in and substitute or add to my order. Each week there is an assortment of Fruits and veggies (of the normal varities, ie : apples, oranges, bananas, carrots, celery, etc.) But usually ever week its something you would never expect ie: Dandelion greens, Kabocha squash, Kiwiberries etc. It has allowed the Double A's aka Picky and pickier to try new things because they are so excited to be apart of the washing and putting away of all the produce! We then can hunt up a fun recipe for our new items and go from there which in turn they want to try it because they helped!!!


I always have a plethera of fresh herbs and "salad" items. These items tend to go bad quickly so I have complied some of my "tricks of the trade" for making your produce last the longest and some to help you be able to enjoy them sooner by escalating the ripening!!! Enjoy!!!

LETTUCE

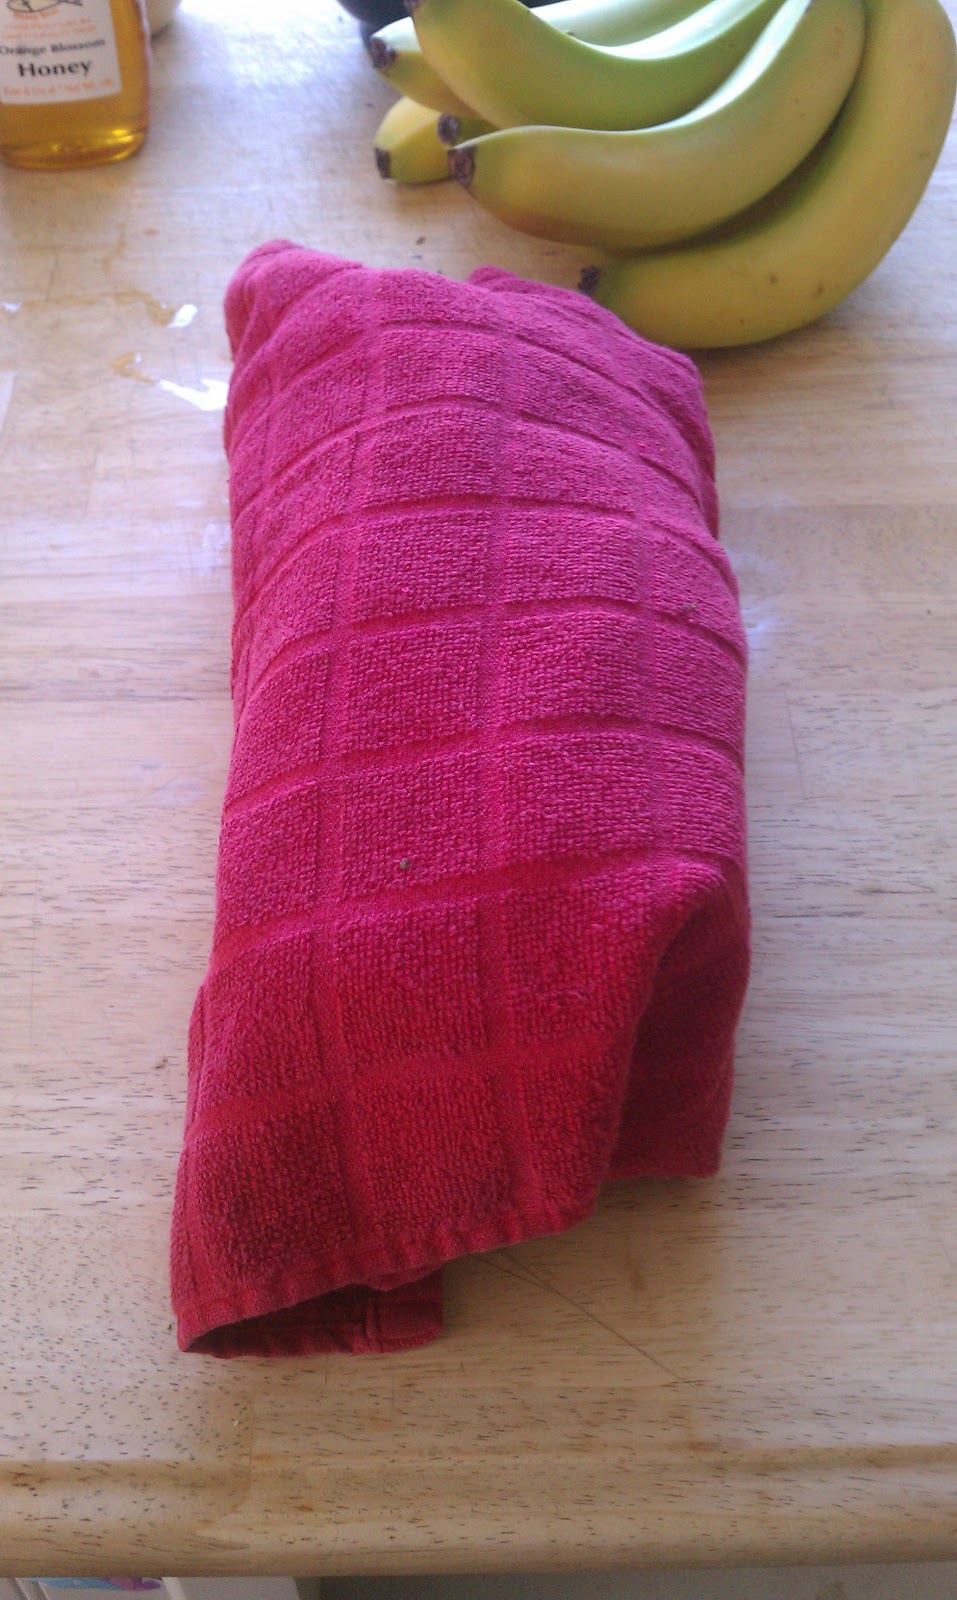
1st off is lettuce whether it be romaine, Boston Bibb, or red leaf this tip works for them all. When you receive your lettuce be sure to seperate and wash and spin dry each leaf. Then by simply wrapping the leaves in a Dish towel and placing it in your crisper drawer it should last a good 7-10 days.




MUSHROOMS

Always store your mushrooms in a paper bag, Do not clean your mushrooms until just before using them. When cleaning take a damp dish towel and gently wipe the mushrooms clean. Do not submerge them in water as mushrooms will absorb the water.

HERBS

Parsley
Fresh cut your parsley and Place it in a short rocks glass with water in the refrigerator. Just as you would fresh flowers on the dining room table.
Cilantro , Basil, Rosemary, etc.
Place your fresh cut herbs each in a freezer or paper bag with a paper towel and expel all excess air. The paper towel will absorb any moisture, therefore keeping your herbs fresher longer.


Sometimes, when we pick our produce at the market, it has not ripened to perfection yet so I have a few tricks to ripen your produce to perfection at home. These are sure fire tips to getting the best out of our yummy jewels.

Avacados
Avacados are very easy to ripen if they are too hard when you purchase simply place them in a brown paper bag and put in a warm spot, On top of the refrigerator works the best, for a day or so and you will have delicous perfectly ripened avacados in just a few hours. The gases from the avacado and the brown paper bag cause a reaction to ripen the fruit faster.


DO YOU HAVE TIPS AND TRICKS?! Email them to us @ 2NaturallyTwistedMoms@gmail.com
Or if you have any suggestions or these tips didnt work for your produce!!!

Have a great day!!!!

~Opal
The Florida half of 2NTM


Wednesday, March 21, 2012

Let your leftovers and trash boost your gardens productivity

Spring is in the air!!!!! If you are anything like me all you want to do is be outside. I typically cannot keep a plant alive!!! BUT, I have a new found LOVE........Gardening! Who woulda thunk it?! Well being an "all natural/ Organic" mom, I decided to compost to ensure our veggies are truly organic!! So We started our compost project just a few weeks ago Here are a few tips and tricks I have found useful!!!


Keep a Tupperware container on the counter (make sure you have a lid on it to ensure you don't have flies roaming around your kitchen) As you make your meals or do your daily house chores instead of throwing things away put them in your Tupperware, at the end of the day you can add them to your compost bin outdoors. I tend to do this after dinner when I go out to water my plants.


 In Florida it is hard to get your compost to break down instead of rotting, We use a few cups of Lime (Garden Lime) in our bin every few days or as needed. We also add a few cups of Organic soil we have purchased at the local garden store once a week.

Make sure you have a place to put your compost bin ( we used a Rubbermaid storage box and drilled holes all the way around on every side/top/bottom) where isn't easily accessible by rodents!


Also make sure you keep it in the garden, this ensures when you are ready to use your compost in your soil that you wont have to move it!!!

Here is a list Ive found of great things to boost your compost:
1.  Dryer lint
2.  “Dust bunnies”
3.  The insides of a vacuum bag (just empty the bag into the compost bin)
4.  The contents of your dustpan (just use discretion)
5.  Coffee grounds
6.  Coffee filters
7.  Tea bags/loose leaf tea
8.  Soy/rice/almond/etc milk
9.  Nut shells (but not walnut, which may be toxic to plants)
10.  Pumpkin/sunflower/sesame seeds (chop them to ensure they won’t grow)
11.  Avocado pits (chop them up so they won’t sprout)
12.  Pickles
13.  Stale tortilla chips/potato chips
14.  Stale crackers
15.  Crumbs (bread or other baked goods)
16.  Old breakfast cereal
17.  Bran (wheat or oat, etc)
18.  Seaweed/nori/kelp
19.  Tofu/tempeh
20.  Frozen fruits and vegetables
22.  Egg shells
23.  Old, moldy “soy dairy” and other dairy substitutes
24.  Stale Halloween candy and old nutrition/protein bars
25.  Popcorn kernels (post-popping, the ones that didn’t make it)
26.  Old herbs and spices
27.  Oatmeal
28.  Peanut shells
29.  Booze (beer and wine)
30.  Wine corks
31.  Egg cartons (not Styrofoam)
32.  Toothpicks
33.  Q-tips (not the plastic ones)
34.  Bamboo Skewers
35.  Matches
36.  Sawdust
37.  Pencil shavings
38..  Fireplace ash (fully extinguished and cooled)
39. Paper towels 40.  Paper napkins
41.  Paper table cloths
42.  Paper plates (non wax- or plastic-coated)
43.  Crepe paper streamers
44.  Holiday wreaths
45.  Old potpourri
46.  Dried flowers
47.  Fresh flowers
48.  Dead houseplants (or their dropped leaves)
49.  Human hair (from a home haircut or saved from the barber shop)
50.  Toenail clippings
51.  Trimmings from an electric razor
52.  Toilet paper and paper towel rolls (shredded first)
53.  Newspaper 54.  Junk mail
55.  Old business cards (not the glossy ones)
56.  Old masking tape

So happy Composting Enjoy the fruits and veggies of your labors!!! 
 
~Opal 

Post Inspired by
http://www.care2.com/greenliving/80-items-you-can-compost.html?page=3

Thursday, March 15, 2012

Ready...Set...Garden!


Spring is finally here! It’s not as warm in Colorado as it is in Florida, but I’ll take this weather over the snow any day! We are already planning our garden, and we can’t wait until we can go out back and pick some fresh fruits and veggies. If you live in a colder climate that still has the potential of freezing (like we do) then starting your plants indoors is usually advised. For most they need to be started indoors 4-6 weeks before they are ready to be transplanted. A trip to Home Depot is all you need to get started; they have everything that you could ever need. We picked out our seeds and our indoor mini greenhouse. These greenhouses are the most practical way to go; they are easy on your budget and easy to use. (And since I usually have two helpers on hand at all times it makes it a lot easier when the mess or potential mess is contained). For smaller plants, such as herbs you can use egg cartons and potting soil to plant them in. (We are planting our herbs in smaller containers so that we can keep them indoors or outdoors). Just make sure that you poke holes in the bottom for drainage. Planting your own herbs is the best way to save money and always have them on hand while cooking, or dry them for later. If you are fortunate enough to live where the danger of freezing has already passed then you can plant them directly into the ground, the seed packs usually has a guide for when to plant each one. (Each plant varies). Hope this helps and happy gardening!
Here are our seeds that we picked to plant

Left rows do not have any water added, center rows have just the water added and the right rows have water and the seeds added.
All done! Now we wait patiently for everything to sprout!
Susan